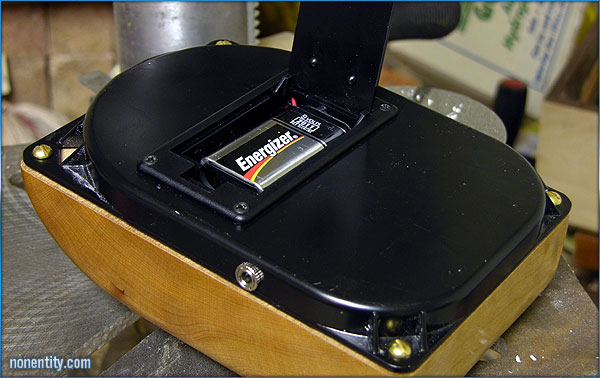
Finally got my battery compartment in the mail! Had to cut the hard drive case, then arrange
the insides so that everything would fit just right.
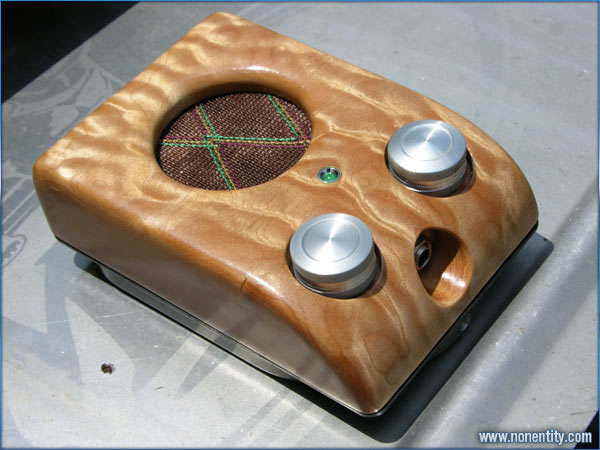
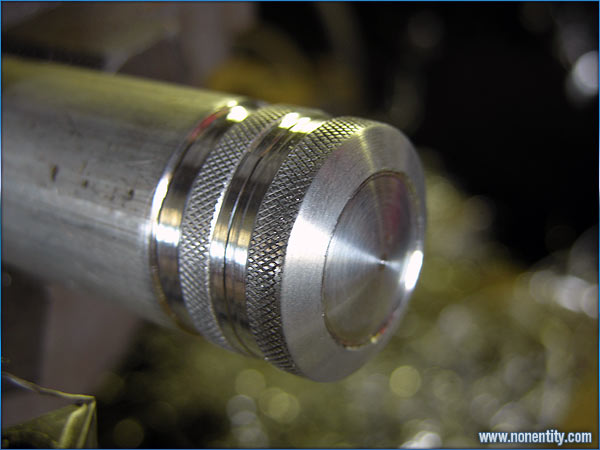
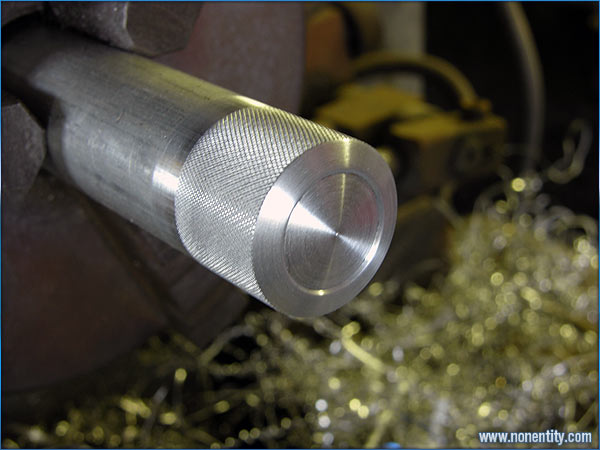
Added the aluminum machined knobs.
All Done! Now to drill and tap for the set screw.
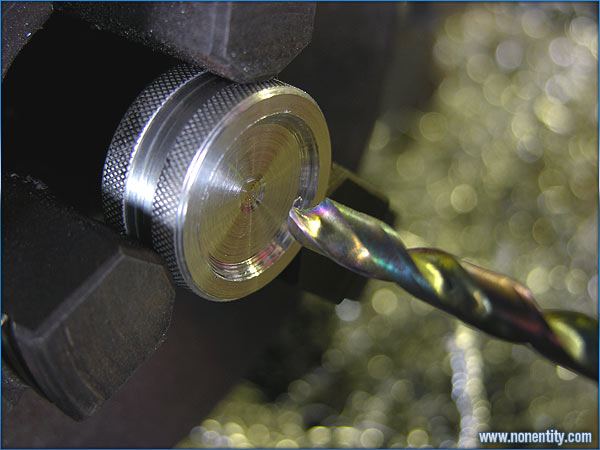
About to drill out the hole to mount on the Rheostat.
Surfacing and dishing done, now to part off.
I used my radius cutter to arc the face of the knob, and then to inset a
smaller arc.
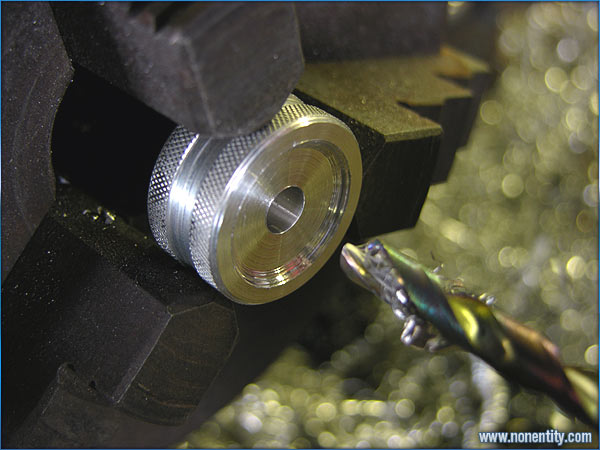
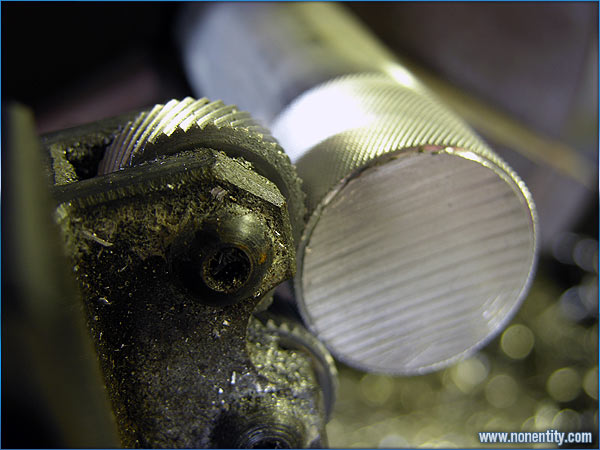
Knurling is done, now to dress the face.
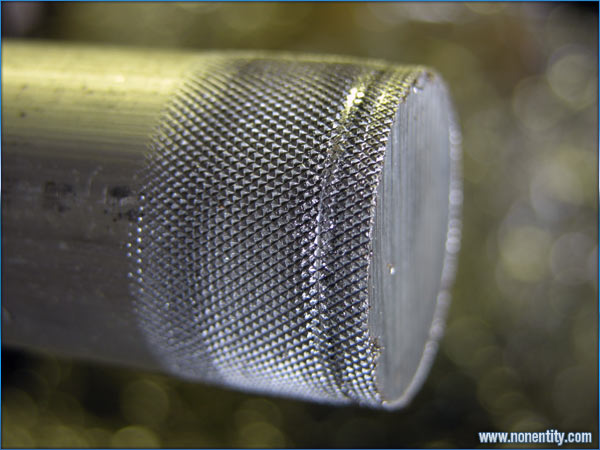
Knurling the stock for the knobs in the lathe.
The amp turns on when you plug it in, the light gets brighter as you play,
depending on the volume
of the input from the guitar. It also pulses if two strings are out of
tune. If I play two strings,
I adjust the tuning till the light stops pulsing. A nice side effect.
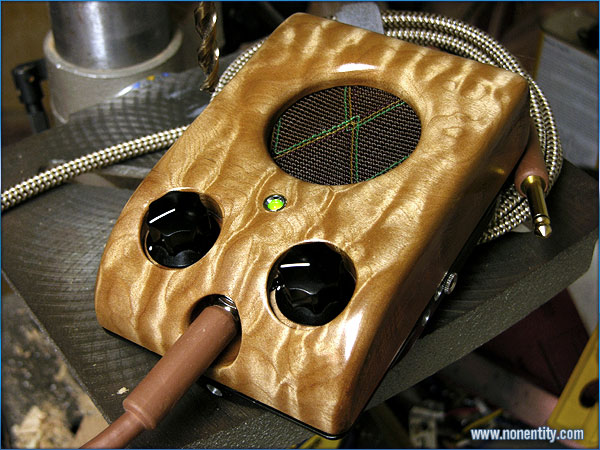
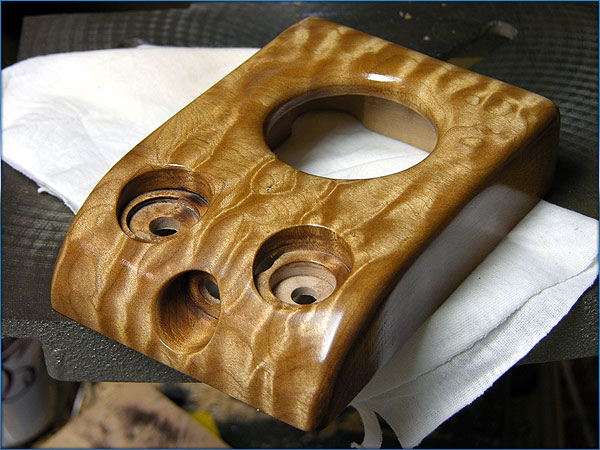
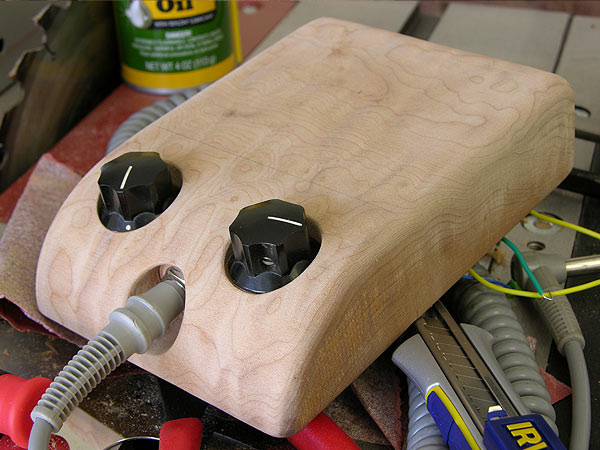
Several coats of high gloss tung oil, and a slightly enlarged speaker
hole. I also
widened the holes for the control knobs so they would turn more freely,
instead of
binding on the smaller diameter hole.
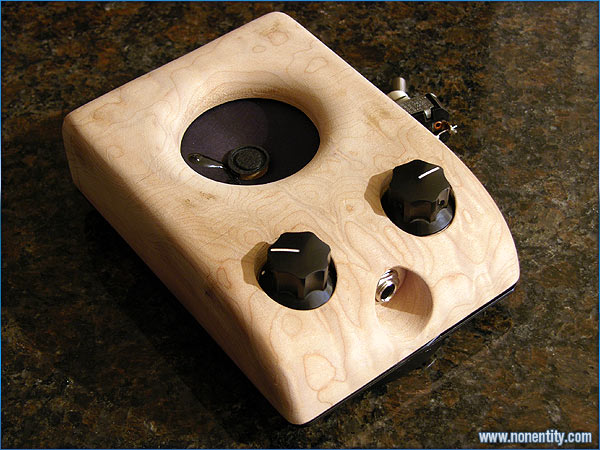
Woo! Got the hole for the speaker set, and radiused. Not sure if I am
going to leave it
Like this, or lathe out an aluminum bezel. Either way, the grille cloth
I have on order
is going to cover the speaker when I'm done.
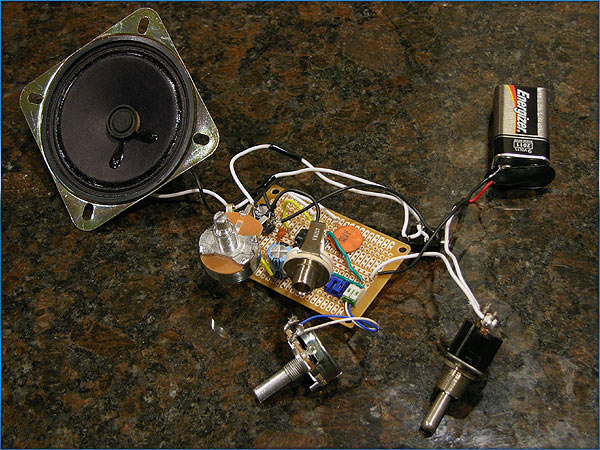
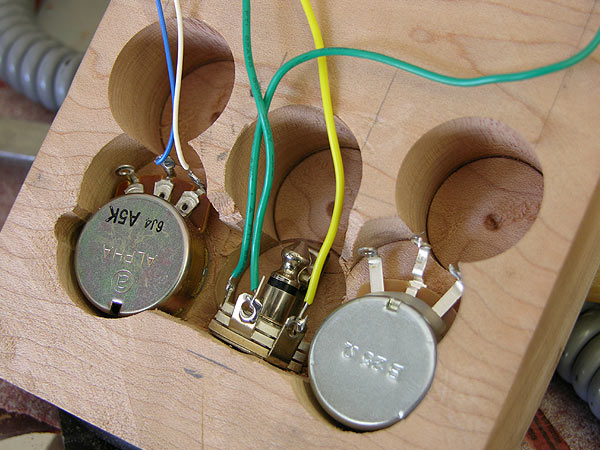
Here is the bare circuit. Once I finish the housing, I'll trim wires to
fit the layout a bit better.
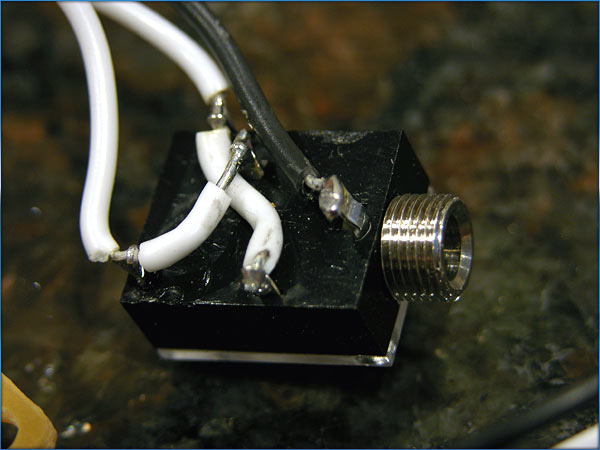
Wiring up the headphone jack this way lets me cut power to the
speaker when I plug in a set of headphones.
Knobs and line in jack assembled.
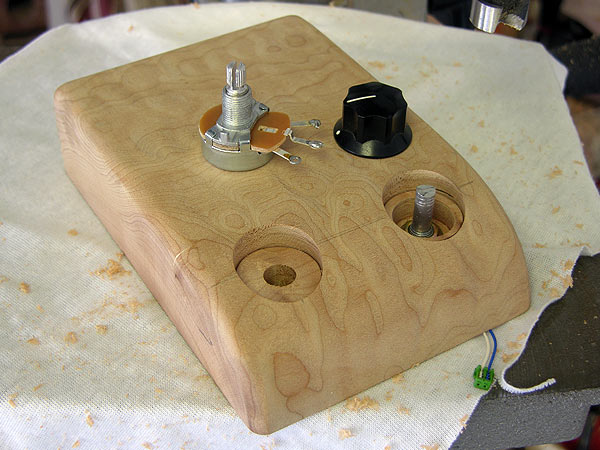
Got the gain knob drilled and mounted, now for the Volume knob.
It's a close fit!
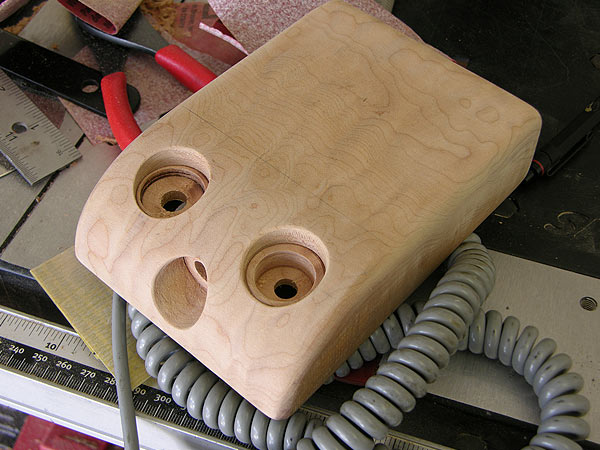
Holes for the volume and gain ready to go. Also drilled out for the line
in jack.
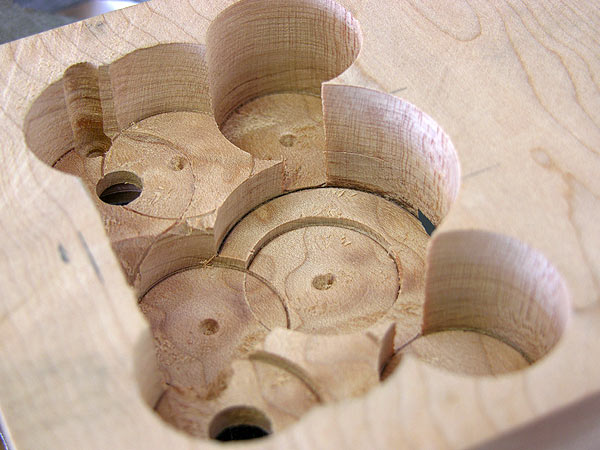
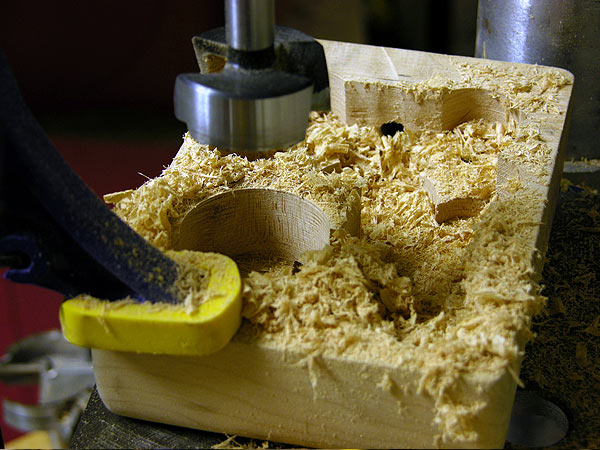
Using the forstner bit to open up the insides.
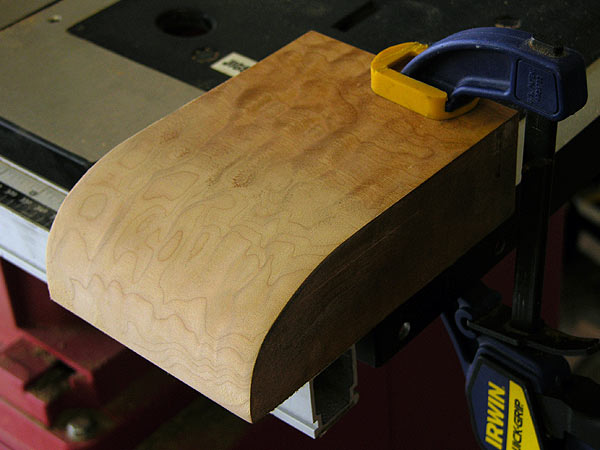
The block of quilted maple I will use for the housing.