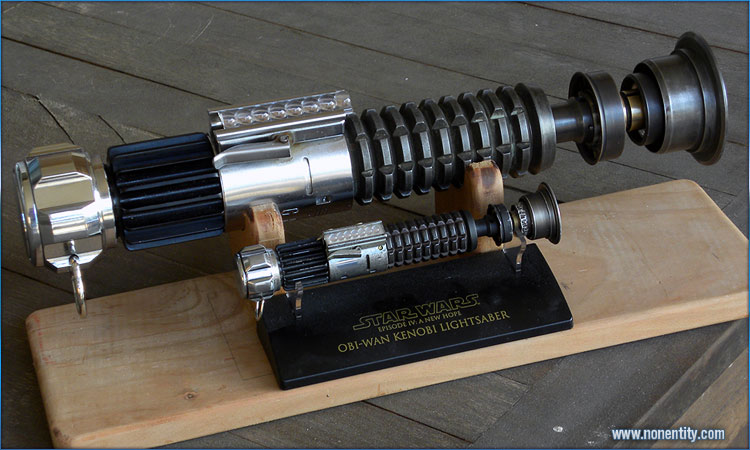
After years of tinkering and cobbling parts together and machining bits and pieces, I am finally 99% done with my Obi Wan lightsaber replica from A New Hope
The first build wasn't very accurate to the movie prop. I machined it mostly out of the wrong diameter parts and the wrong materials. I didn't know any better.
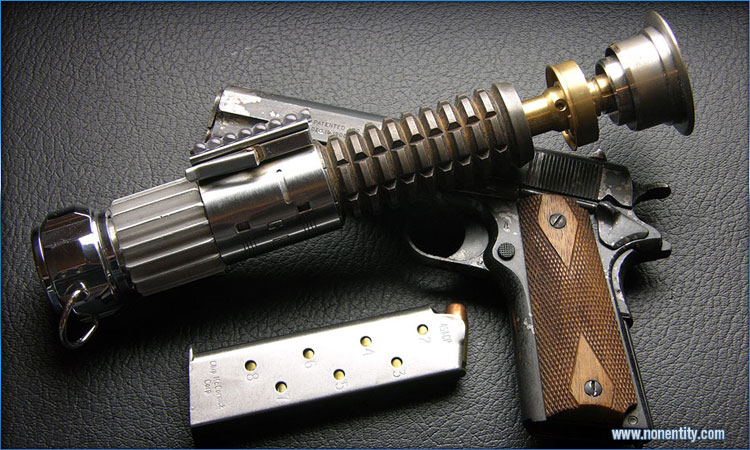
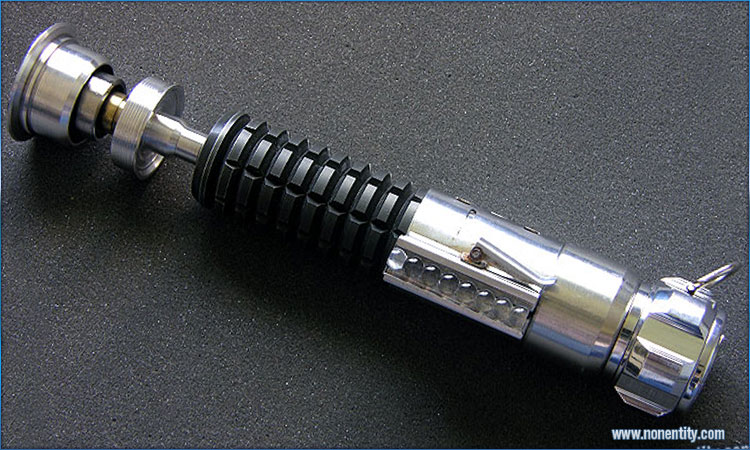
At this point it was very close, the proper grenade, windvane section, proper emitter, etc. Still unweathered, and the wrong color, but that to change as I found I could use my gun bluing chemicals on these parts to get a good weathered look.
The weathered emitter section. I found BirchwoodCasey's gun bluing chemicals work wonders on these parts.
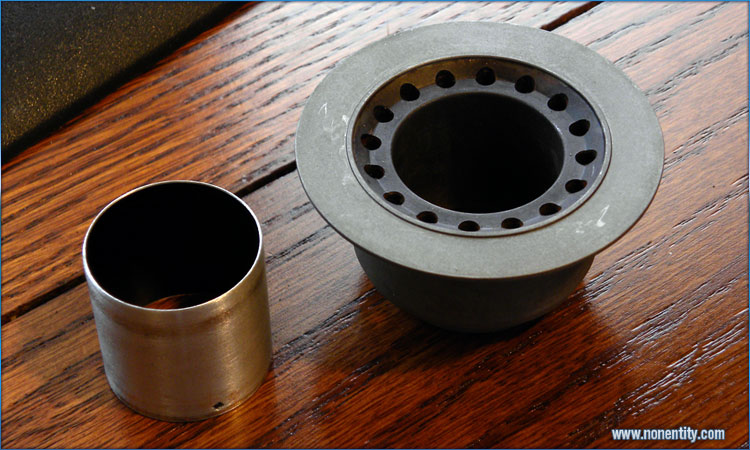
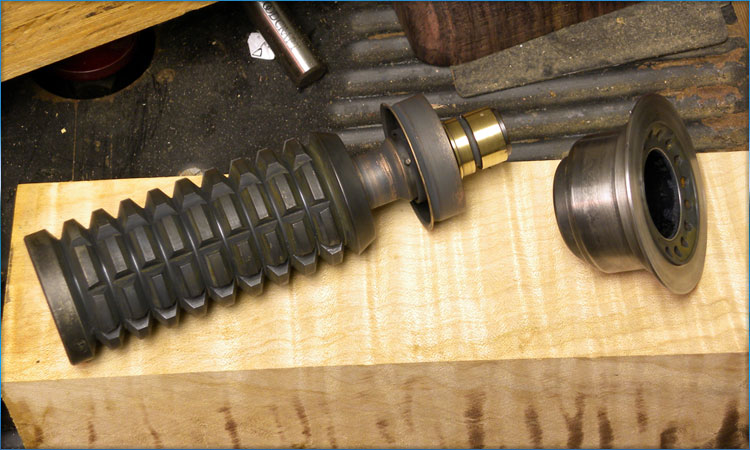
But once I finished the saber, I had some parts leftover. And some other aluminum. This section to the left in particular, I found fit PERFECTLY in between the emitter shroud and a broken Master Replicas Vader Force FX lightsaber blade.
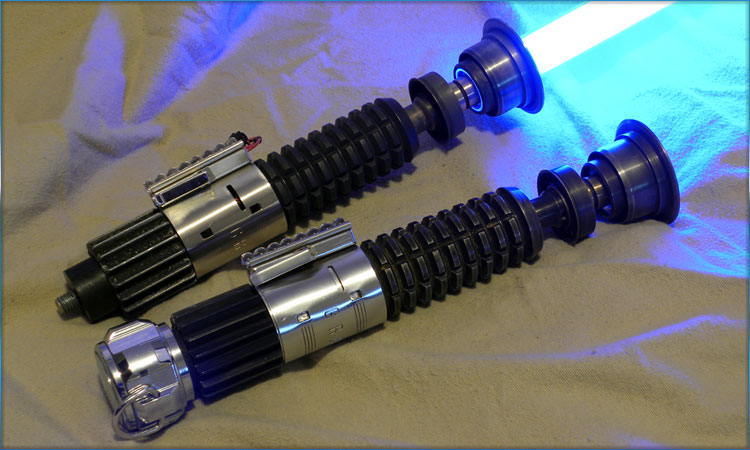
Naturally the thing to do now was to create a copy of my Obi ANH Saber but this time, add a lightup blade.

PERFECT Fit. Once I get anchoring screws hidden in there, it will be rock solid.
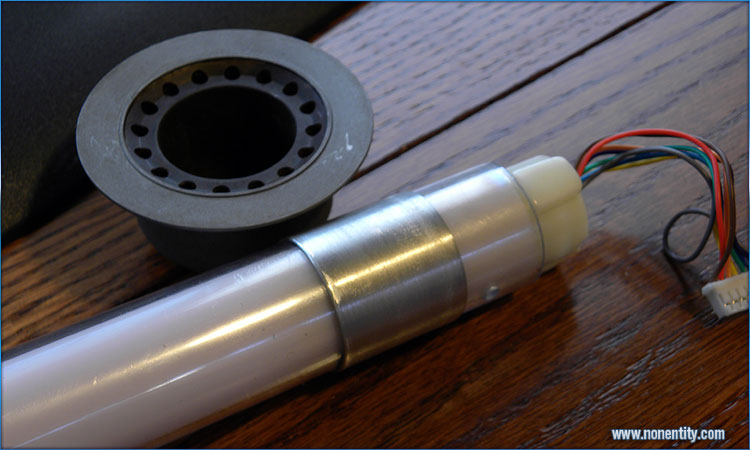
Yes, it will work. It's the wrong color, but I want to fix that by creating my own custom LED string of lights. Tedious, but worth it.
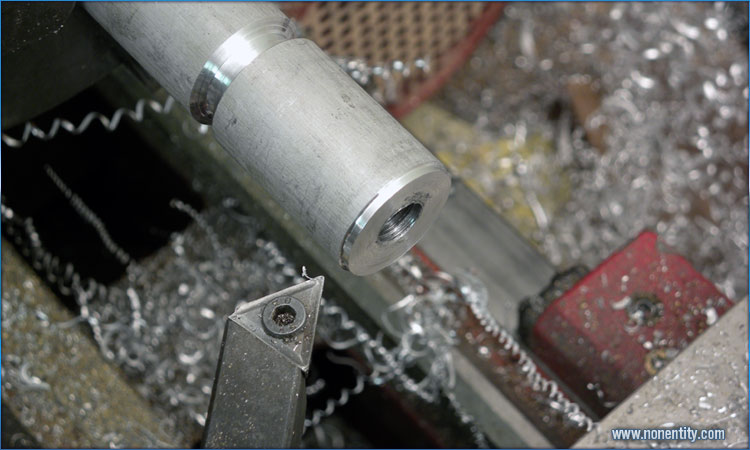
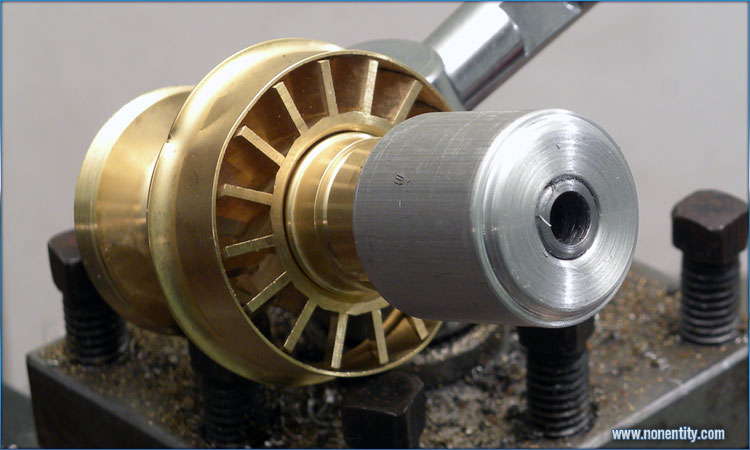
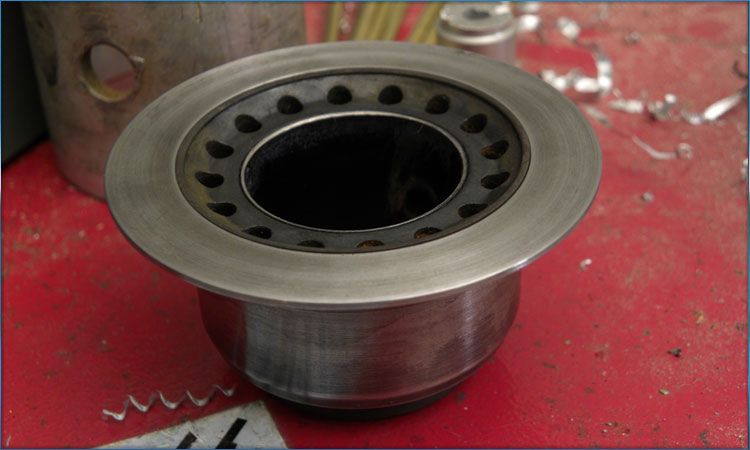
This is the aluminum anchor plug I will use to screw into in the emitter/blade section to hold it all together.
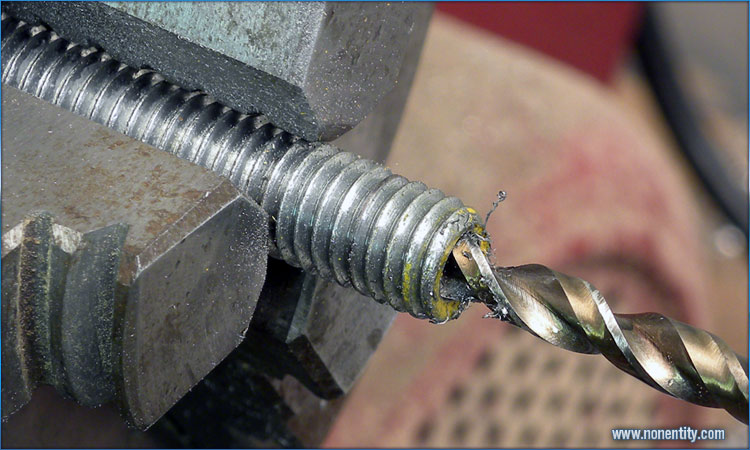
I have to hollow out a 5/8 threaded rod to pass the LED wires through.
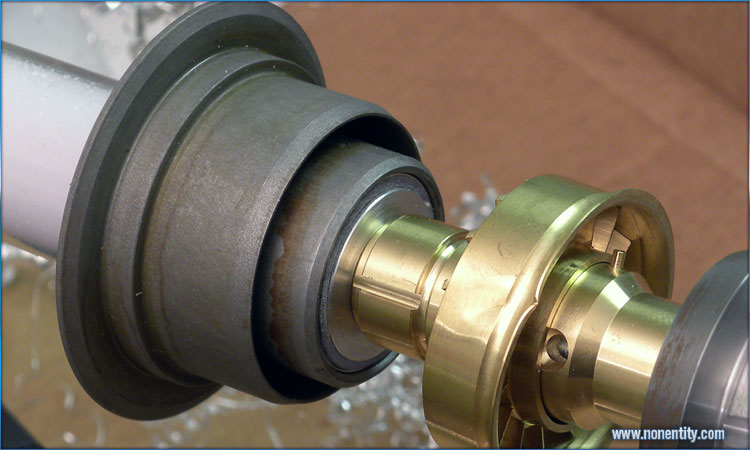
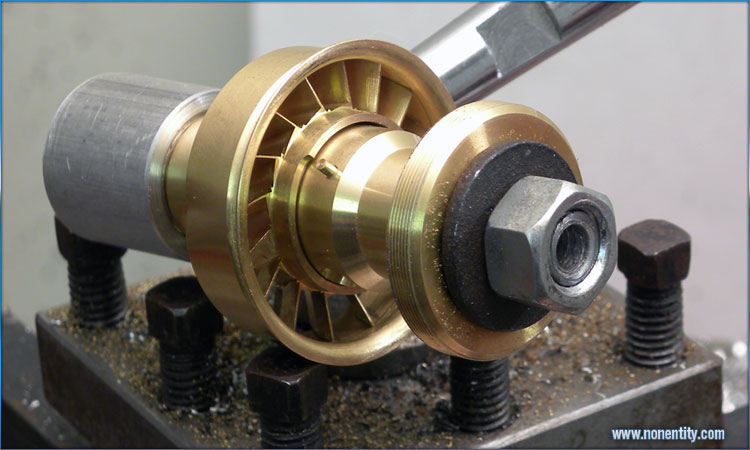
Everything fits, but I need to cut a recess in the aluminum plug for the windvane neck to fit up into. Right now, its not deep enough
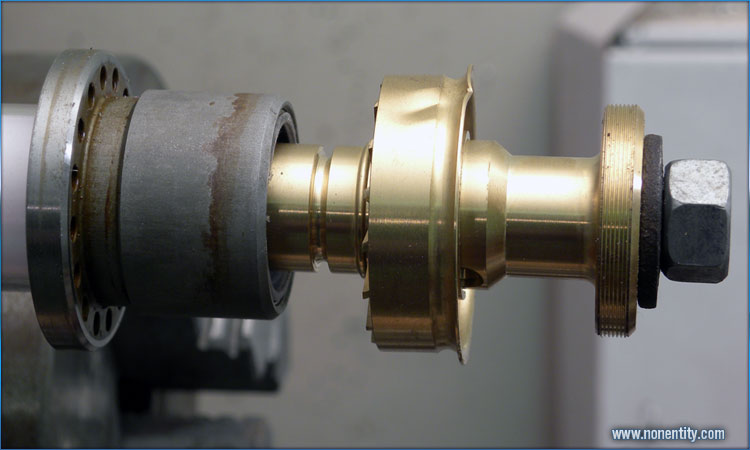
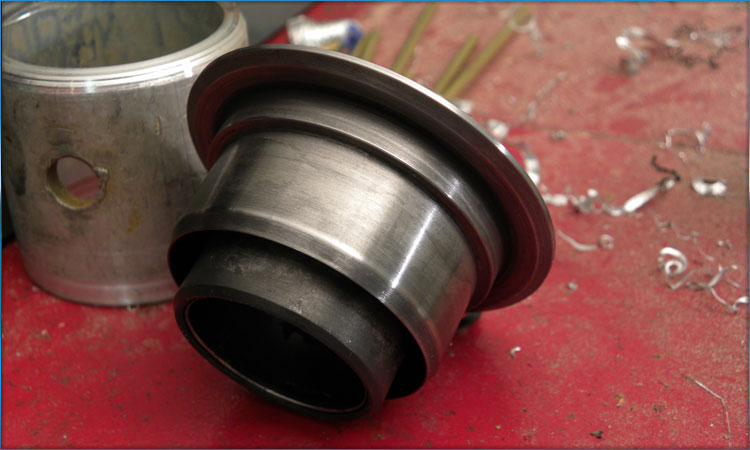
There, that's better, a nice cavity for the windvane neck to fit into. Now I need to fix the dents in the windvane (it came that way, meh) and set my anchor screw for the blade.
View of the hollow wire passage.
Other end, I'll pass my LED wires through that hole.
Anchor screws installed, and the blade is rock solid. I will work on electronics next.
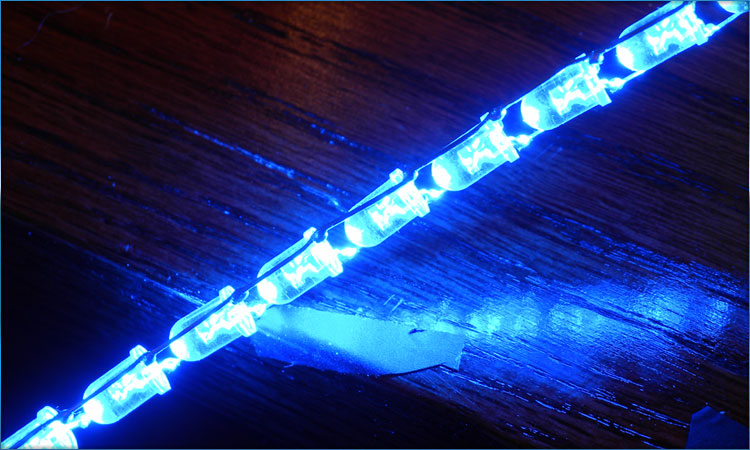
The first ten LEDs in the ladder string soldered. That was tedious.
A closeup of the soldering job. I bent the leads over the next LED in the chain, crimped, and snipped the excess, then a very small bead of solder to secure it together, while keeping everything as straight as I could.
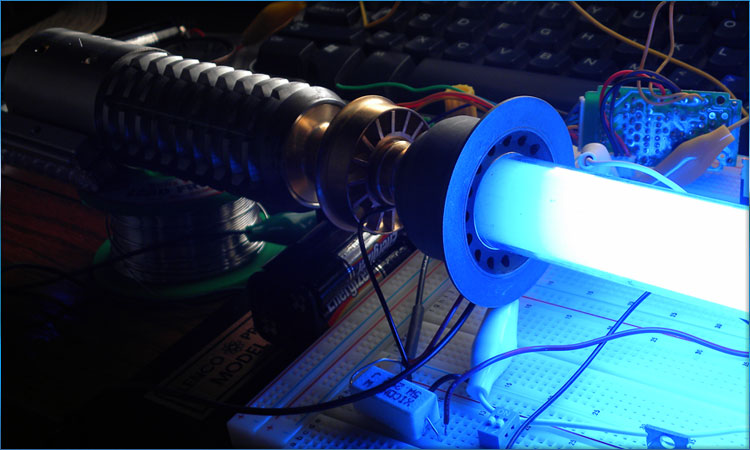
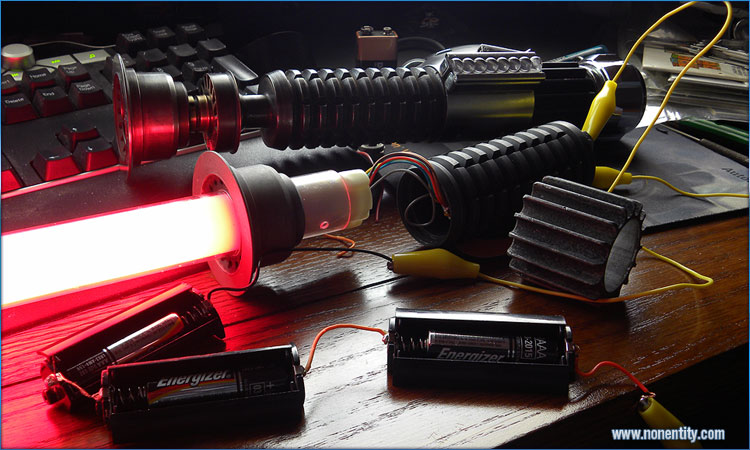
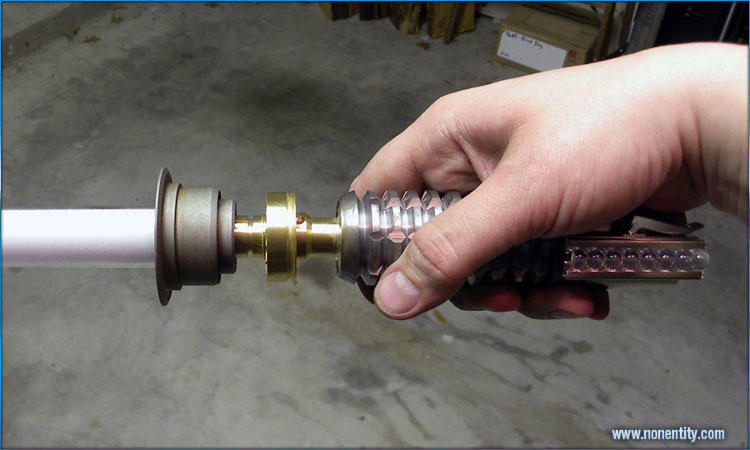
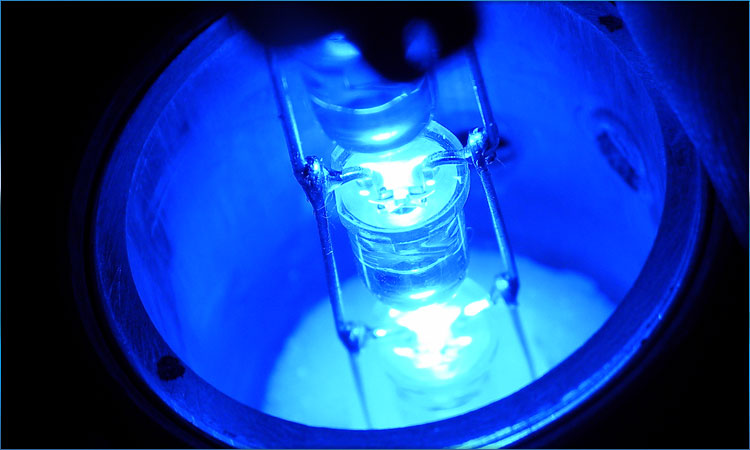
Preassembled for wire length and fit, and just so I could see what it looked like lit up. I think once I get the LED string moved a bit closer to the emitter to get rid of that slightly dim spot at the base, and the other 54 LEDs soldered up, this saber is going to be one I am very happy with.

I decided to do a little work on this project, I found a scrap piece of delrin to attempt the battery holder/speaker housing, and it turned out to BARELY fit. Three AAA batteries fit inside the delrin tube, which is threaded at the end for the sink knob pommel, and widens out to 1 inch to hold the speaker, with enough room for a resonance chamber behind the speaker to pump up the volume a good deal. The graflex clamp fits snug on that wider spot, with cuts for the tabs to lock in. I'll probably go back and make this piece out of aluminum for stability.
The obnoxious switch hanging out of the top of the graflex clamp is temporary till I figure out how to hide a switch in there. I am very happy that I was able to cram all that stuff into such limited space, and still hold true to the accuracy of the saber. I did have to harvest the pommel off my original saber to test, but I think I can come up with a suitable replacement.
The saber is BRIGHT and LOUD, moreso than a stock master replicas Force FX saber. I will wait till I have a bit of extra cash and finish out the LEDs in the blade, and then it will be time to weather it to match my first saber.
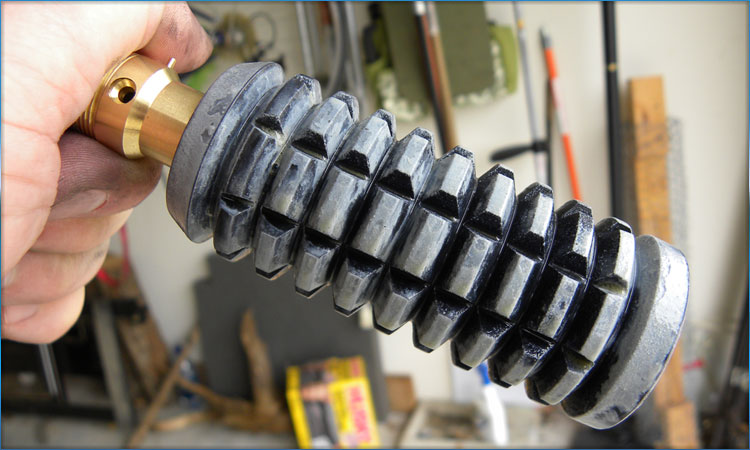
First off, I needed to strip any rust off the grenade. There was some light surface rust, and I used a wire brush in my dremel to shine it up for bluing.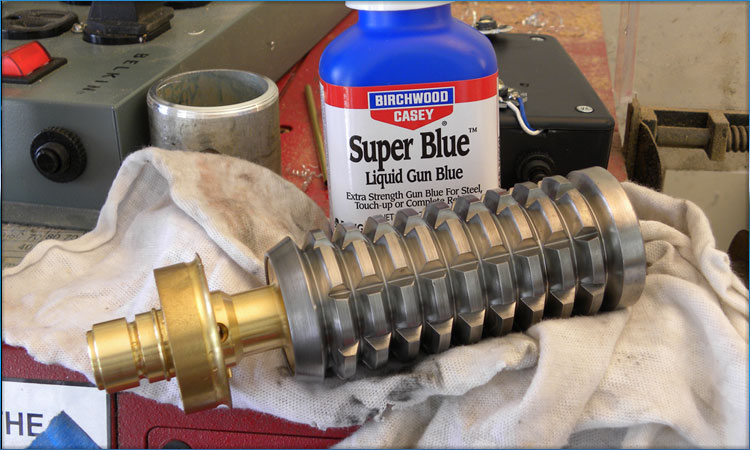
I'll be using Birchwood Casey Super Blue on the grenade. This will be the first time I have tried this particular product.
If you do this, make sure to use rubber gloves and do this in a well ventilated area. This is some noxious stuff, so it's not for kids.
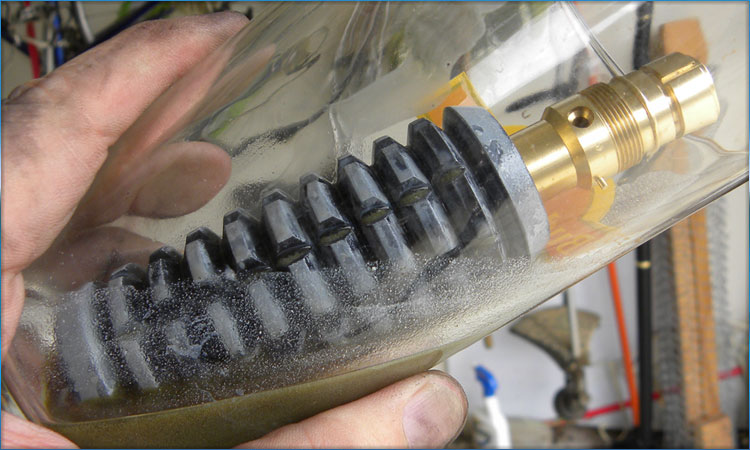
That white residue is bad news, I blast it off with some high pressure cold water.
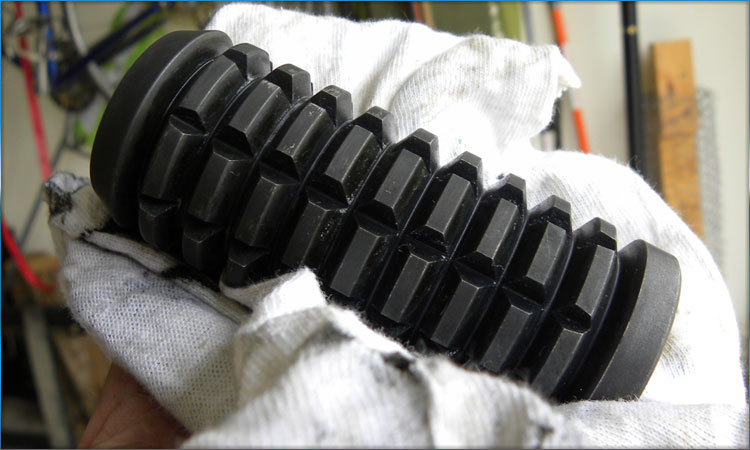
After a few cycles through the chemical and knocking the gunk off that is generated, a nice dark blue is left. I need to let this rust a bit, but it's well on the way to matching my other saber.
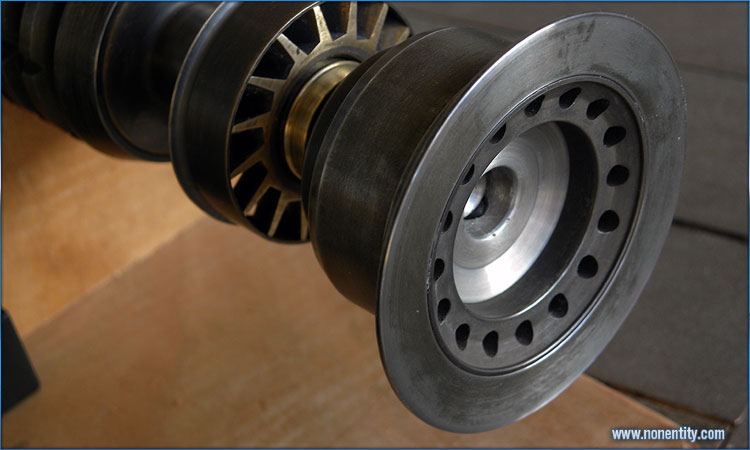
Afterwards I will weather and darken the windvane, right now it's too pristine.
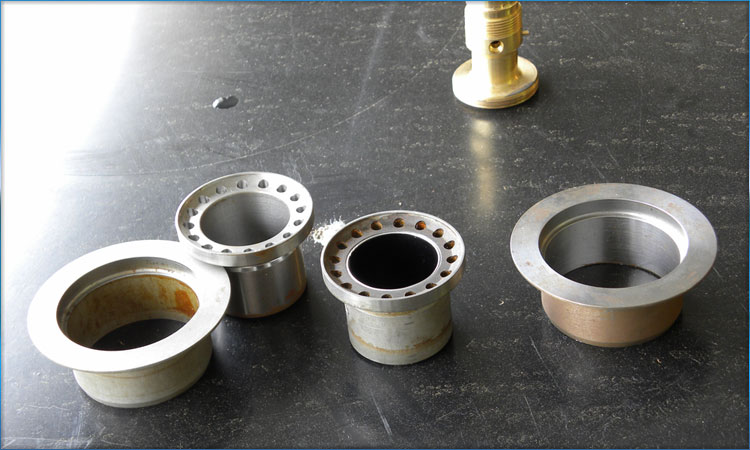
Next up is the emitter section. I have two complete emitters to work with, and I chose the unweathered cleaner outer section to go with. This will be easier to clean up and then hit with the Super Blue for darkening.
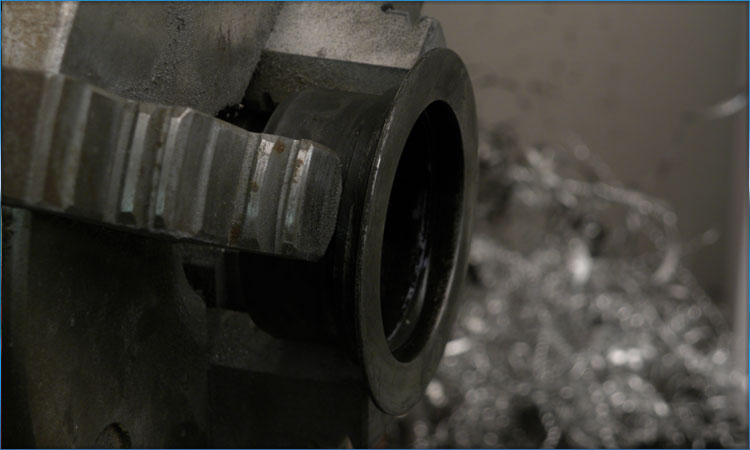
After using the same process from the grenade on the emitter, I chuck it up in the lathe and use some extra fine sandpaper to clean it back down, leaving nice darkened weathering in the crevices.
I left more darkened blued finish on the inside emitter section.
I still may need to work on this area, as it's not quite as close to my other saber as I'd like.
Also the windvane brass black didn't take hold quite as well as the other saber. I might have to break it down again and redo that part, but it will work for now.
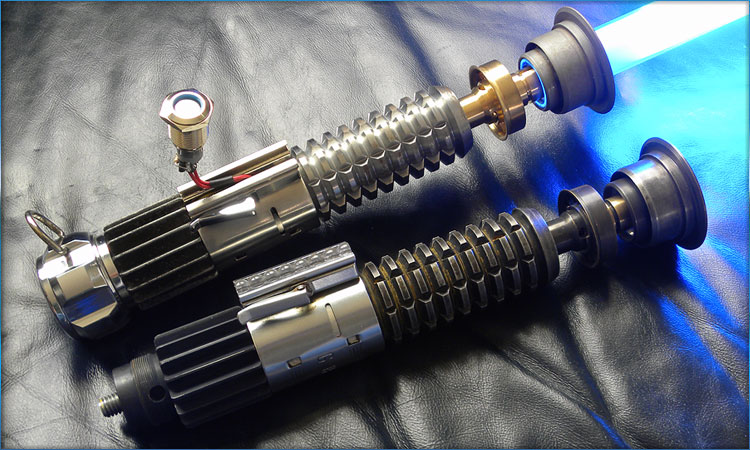
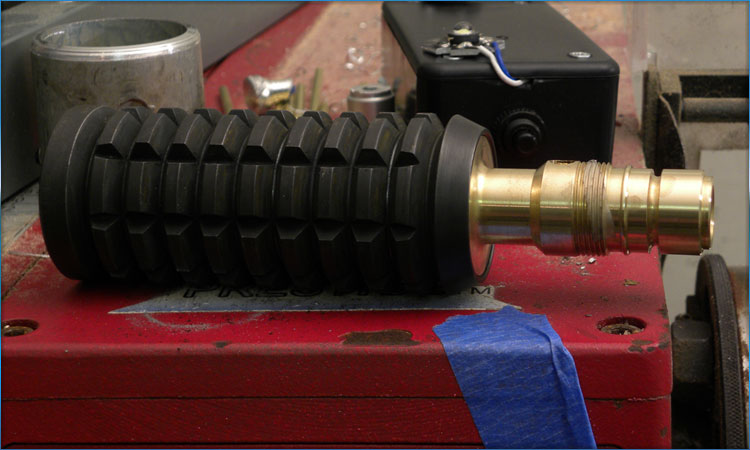
Much closer to my first saber. I still need to add some rust and tweak some values, but I think it's much closer now. The next challenge is hiding the on off switch, and to hide a speaker volume knob someplace. Probably use one of the transistors as a volume control.
I am also still awaiting my pommel from a run off the RPF.
|